Post by TrapperRon on Oct 25, 2009 9:56:59 GMT -6
The following is an article I wrote for the BC Trapper
Trap Modifications
Ron Lancour
Seems we are always looking for better ways for our traps to serve us better by modifying them. Most trappers always seem to be modifying there traps in one way or another, be it triggers, jaws, pans, springs, or attachment chains. My trap of choice with today's regulations are the rotating jaw LDL's, 120 size for marten, 280 size for cats, otter, and beaver. The chain attachment seems to be incomplete and maybe an afterthought (no ring like the old conibears, and a short cheaper brand of chain). What I wanted to do was to incorporate a swivel and make a quick attachment of some sort to quickly attach a trap at the set or remove a trap with a frozen fur to set a new replacement one. A system to save some time in both setting and picking up your traps was also a priority. Hay wire (trappers wire) is a real pain to attach the trap chain or to detach it. Chains seem to get tangled with other traps and chains in your storage boxes, cable is not much better. So I thought why not just leave your chain or cable in the bush along with your box cubby. That would eliminate the tangled mess in your storage box. A quick link or other device would eliminate the hay wire and speed up the attachment and detachment process.
After shopping trips to may stores, Canadian Tire, Home Depot, Princess Auto, Rona to name a few, and google searches, all of the available swivels and quick links soon proved to be cost prohibitive. As well most quick links required some sort of tool to attach and detach. The alternative was to make my own.
The next avenue was to search the Internet trapper forums for swivel and attachment ideas. There was no shortage of innovative ideas. What I did was combine a few ideas into one unique system of my own. It is a swivel, made from nails, a nut, and washer. You need to be a welder of sorts to make them. For me, I fit the "of sorts" category, but the forgiving stainless steel rods make me look like a real welder. The second part is a 3/32 cable, two ferrules, and a made up heavy wire twisted link. The made up cable stays at the trap site, or in the case of say beaver sets alone a creek it is quickly completely removable from the trap and whatever you anchored to and the cable can come home with you. Length of cable depends upon the type of trap set you are making.
The made up cable with an eye on one end and twisted link on the other is easily attached by threading the link end through the eye of the cable forming a loop around your anchor. This could be around a tree or log in the case of beaver and otter traps, a ready rod with an eye, a staple, or a cross pole at your marten sets. The link end folds back in a straight line with your cable and threads through the eye of the swivel, opens to form a Tee and your trap is attached. Reverse the procedure to detach the trap, all this takes about 30 seconds. At my marten sets there will be a cross pole to attach the cable to so the marten swings free of the tree if the box is attached to the tree, or hangs below the box if the box is set on a horizontal pole. The cable and box will stay at the site and the traps will be brought home when I'm done trapping for the season.
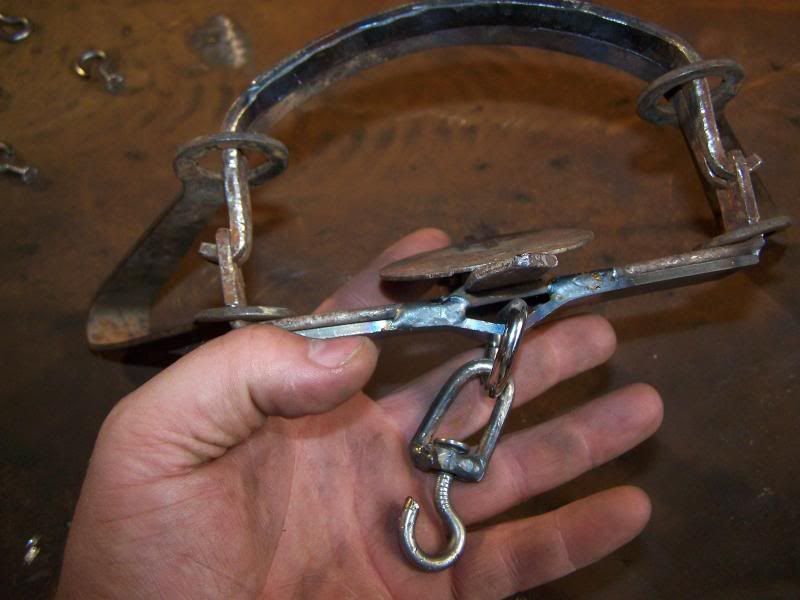
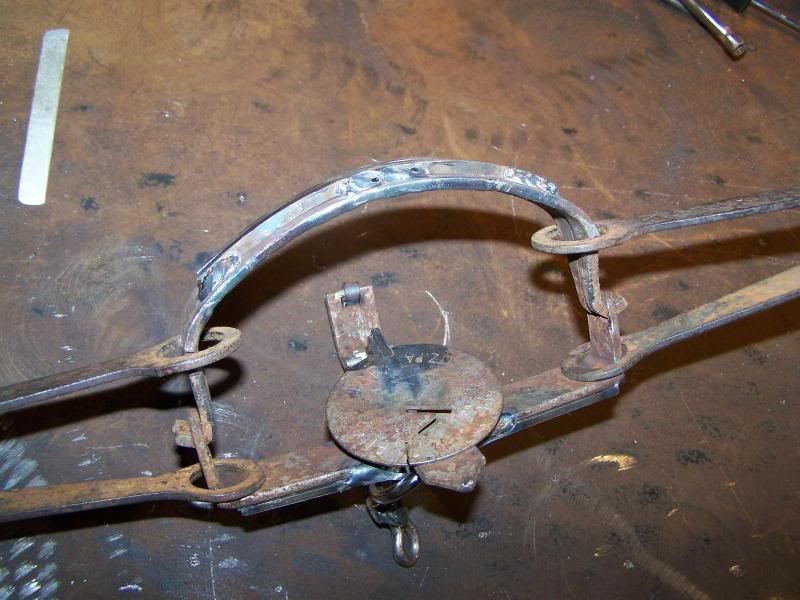
My old 120 conibears have undergone some modifications also to make them more humane for mink and ermine, which they can still be used for. That is a modification for another day. The reason for mentioning it is that one of my old 120's is sacrificed and cut up with a zip blade on my hand grinder to modify two traps. The eye of the spring is salvaged and used to attach the made up swivels to the new LDL's.
The Swivels
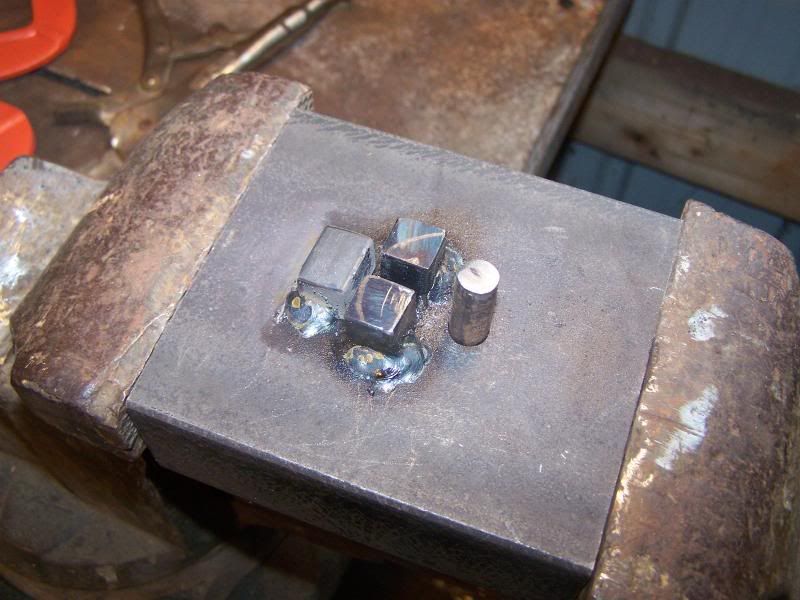
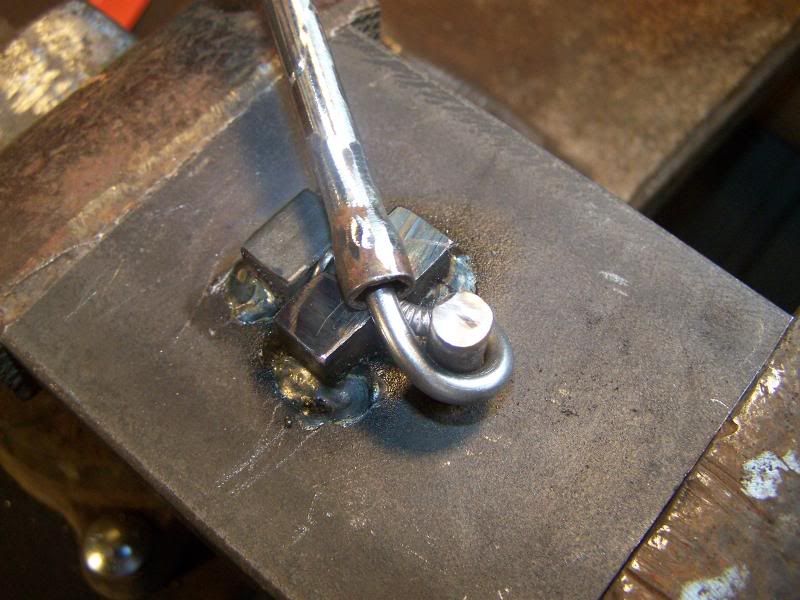
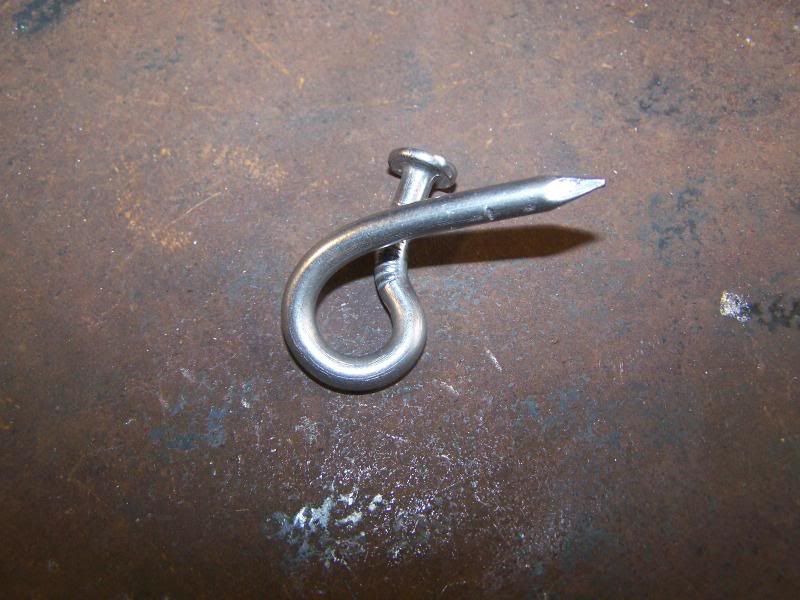
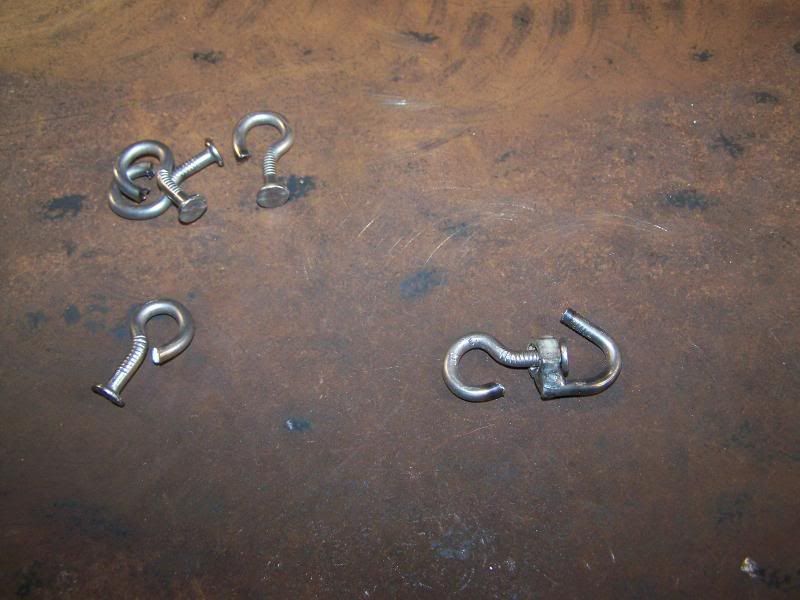
I have made a simple jig for bending the nails, and use a hollow nut driver to bend the nails. Use 4 inch common nail bent U shaped, a 3/8's nut is welded in the U, then the extra nail is zipped off. The swivel part and loop which attach to a ring on the spring of the trap is a 3 1/2 inch common nail. It is bent slightly in the jig about 1/3 of the way down from the head, then turned over and the eye is formed. Use a small washer at the nail head and then put the partially made swivel end through the nut, close the loop with pliers and weld.
The Cable and Twist Link
Use a 5 inch long piece of heavy wire or 1/8 inch rod. Twist the wire around a nail to form an eye mid way. A small jig can be made up to simplify this operation. The eye must be just slightly larger than the cable you are going to use. If too big an eye it will not go through the swivel frame. Cut a 2/32 cable to the desired length make an eye on one end and crimp with a ferrule, then attach the twist link to the other end with an eye and crimped ferrule.
Pictures:
1. Bending the U shaped nail in the jig.

2. Bending the swivel nail 1/3 along nail

3. Nail turned and eye being formed in the jig.

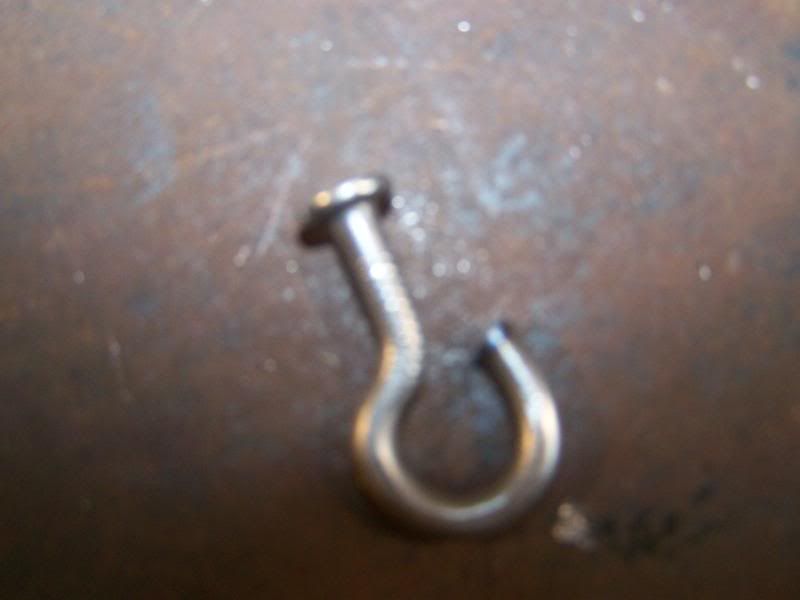
4. Various stages of making the swivels.

5. The swivel is attached to the trap spring with the eye of a spring salvaged off of an old 120.

6. Made up cable with Twist Link attached.

7. Attaching the Twist Link to your new trap swivel. This is done at the trap set after your cable is attached to a cross pole,drag, staple or whatever you attach to.

8. Twist Link holding solid after being attached through the swivel.

9. Use a zip on your hand grinder to cut off the extra nail after welding.

Trap Modifications
Ron Lancour
Seems we are always looking for better ways for our traps to serve us better by modifying them. Most trappers always seem to be modifying there traps in one way or another, be it triggers, jaws, pans, springs, or attachment chains. My trap of choice with today's regulations are the rotating jaw LDL's, 120 size for marten, 280 size for cats, otter, and beaver. The chain attachment seems to be incomplete and maybe an afterthought (no ring like the old conibears, and a short cheaper brand of chain). What I wanted to do was to incorporate a swivel and make a quick attachment of some sort to quickly attach a trap at the set or remove a trap with a frozen fur to set a new replacement one. A system to save some time in both setting and picking up your traps was also a priority. Hay wire (trappers wire) is a real pain to attach the trap chain or to detach it. Chains seem to get tangled with other traps and chains in your storage boxes, cable is not much better. So I thought why not just leave your chain or cable in the bush along with your box cubby. That would eliminate the tangled mess in your storage box. A quick link or other device would eliminate the hay wire and speed up the attachment and detachment process.
After shopping trips to may stores, Canadian Tire, Home Depot, Princess Auto, Rona to name a few, and google searches, all of the available swivels and quick links soon proved to be cost prohibitive. As well most quick links required some sort of tool to attach and detach. The alternative was to make my own.
The next avenue was to search the Internet trapper forums for swivel and attachment ideas. There was no shortage of innovative ideas. What I did was combine a few ideas into one unique system of my own. It is a swivel, made from nails, a nut, and washer. You need to be a welder of sorts to make them. For me, I fit the "of sorts" category, but the forgiving stainless steel rods make me look like a real welder. The second part is a 3/32 cable, two ferrules, and a made up heavy wire twisted link. The made up cable stays at the trap site, or in the case of say beaver sets alone a creek it is quickly completely removable from the trap and whatever you anchored to and the cable can come home with you. Length of cable depends upon the type of trap set you are making.
The made up cable with an eye on one end and twisted link on the other is easily attached by threading the link end through the eye of the cable forming a loop around your anchor. This could be around a tree or log in the case of beaver and otter traps, a ready rod with an eye, a staple, or a cross pole at your marten sets. The link end folds back in a straight line with your cable and threads through the eye of the swivel, opens to form a Tee and your trap is attached. Reverse the procedure to detach the trap, all this takes about 30 seconds. At my marten sets there will be a cross pole to attach the cable to so the marten swings free of the tree if the box is attached to the tree, or hangs below the box if the box is set on a horizontal pole. The cable and box will stay at the site and the traps will be brought home when I'm done trapping for the season.
My old 120 conibears have undergone some modifications also to make them more humane for mink and ermine, which they can still be used for. That is a modification for another day. The reason for mentioning it is that one of my old 120's is sacrificed and cut up with a zip blade on my hand grinder to modify two traps. The eye of the spring is salvaged and used to attach the made up swivels to the new LDL's.
The Swivels
I have made a simple jig for bending the nails, and use a hollow nut driver to bend the nails. Use 4 inch common nail bent U shaped, a 3/8's nut is welded in the U, then the extra nail is zipped off. The swivel part and loop which attach to a ring on the spring of the trap is a 3 1/2 inch common nail. It is bent slightly in the jig about 1/3 of the way down from the head, then turned over and the eye is formed. Use a small washer at the nail head and then put the partially made swivel end through the nut, close the loop with pliers and weld.
The Cable and Twist Link
Use a 5 inch long piece of heavy wire or 1/8 inch rod. Twist the wire around a nail to form an eye mid way. A small jig can be made up to simplify this operation. The eye must be just slightly larger than the cable you are going to use. If too big an eye it will not go through the swivel frame. Cut a 2/32 cable to the desired length make an eye on one end and crimp with a ferrule, then attach the twist link to the other end with an eye and crimped ferrule.
Pictures:
1. Bending the U shaped nail in the jig.

2. Bending the swivel nail 1/3 along nail

3. Nail turned and eye being formed in the jig.

4. Various stages of making the swivels.

5. The swivel is attached to the trap spring with the eye of a spring salvaged off of an old 120.

6. Made up cable with Twist Link attached.

7. Attaching the Twist Link to your new trap swivel. This is done at the trap set after your cable is attached to a cross pole,drag, staple or whatever you attach to.

8. Twist Link holding solid after being attached through the swivel.

9. Use a zip on your hand grinder to cut off the extra nail after welding.


